Rules
Part of 9 things about garment durability and care worth your time
Garment durability and care failures: diagnose pilling, shrinkage, and fading by symptom
How to diagnose garment durability and care failures: preserve evidence, identify the item, reconstruct care, map damage, check pilling, shrinkage, fading, bleeding.
What to take away
- Diagnose the failure before changing detergent, temperature, construction, or material.
- Keep the damaged item, its label, purchase details, and care history as evidence.
- Similar symptoms can have different causes and need different corrections.
- Stop home treatment when contamination, protective function, electrics, or severe damage raises safety concerns.
- A lasting fix changes the cause and is verified on a comparable garment.
Durability problems rarely announce their cause. A shirt may look smaller because fibers contracted, seams drew up, or a bonded layer distorted. A dark cuff may stain a light body through wet bleeding or dry rubbing. A peeling surface may be a print, coating, film, or adhesive failure.
Start with evidence, not a favorite remedy. The failure families are laid out in the durability and care overview.
A five-step diagnosis
- Preserve the item.Do not wash, shave, glue, bleach, stretch, or heat it again until it is documented.
- Identify the product.Record style, size, color, lot if available, purchase date, label, and claimed performance.
- Reconstruct use and care.Note wear count, wash method, products, load, temperature, drying, ironing, storage, and the moment the symptom appeared.
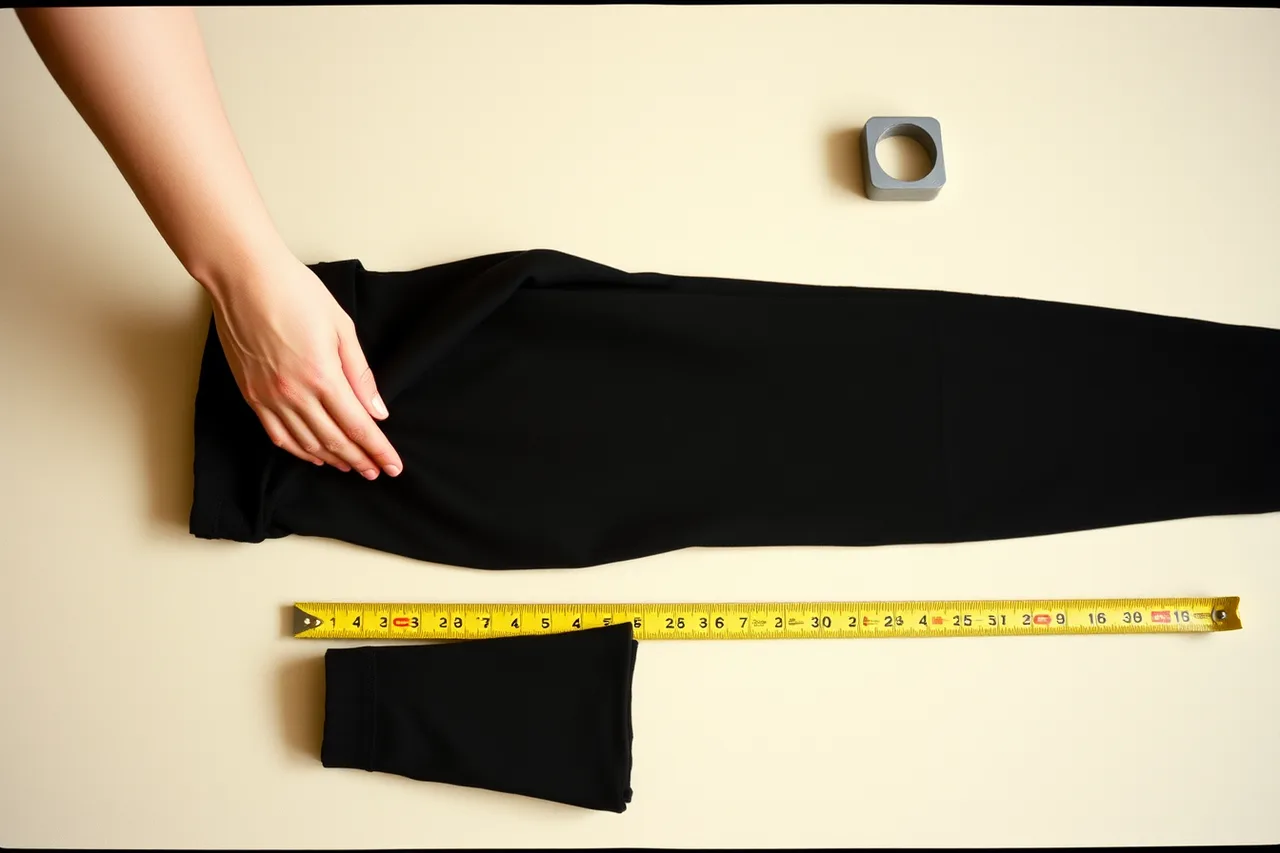
- Map the damage.Photograph the whole garment and close views with a ruler and consistent light.
- Compare evidence.Use an unworn control, another garment, measurements, production records, or suitable tests.
Do not infer misuse solely because damage appeared after care. The stated process may be unsupported, unclear, or too sensitive to normal variation. Choosing a route the whole garment tolerates is the subject of the care route comparison.
Five-step damage diagnosis
- Preserve the item before further care
- Identify product, label, and claimed performance
- Reconstruct use and care history
- Map damage with ruler and consistent light
- Compare against unworn control or tests
Pilling, fuzzing, and abrasion
Symptom
Small entangled balls, loose surface fibers, thinning, glazing, or holes appear in high-contact zones.
Likely causes
Pilling involves fiber migration, entanglement, and retention. Fiber length and strength, yarn twist, fabric structure, finishing, friction, and laundering can all matter. Local damage near a bag strap differs from widespread laundry pilling.
Response
Map where change occurs. Compare contact zones and low-friction panels. Examine pills before removal. A fabric shaver may improve appearance but removes fiber and can cut sound yarns, so it is not proof of a durable solution. Product teams can adjust yarn, structure, finish, fit, or reinforcement and retest the affected use.
Shrinkage, growth, and twisting
Symptom
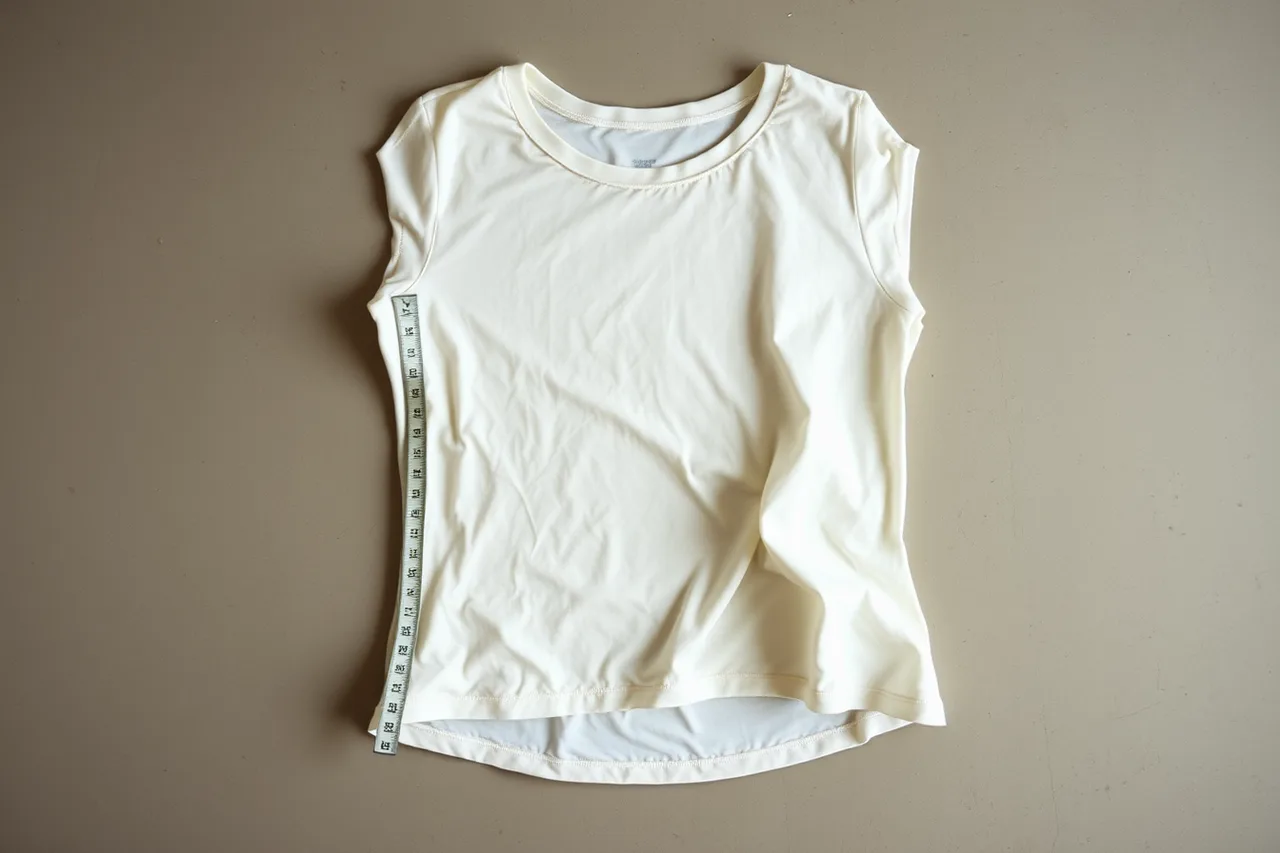
Length or width changes, side seams spiral, hems ripple, panels no longer align, or the garment bags during wear.
Likely causes
Fiber relaxation, felting, fabric finishing, knit torque, seam tension, heat, moisture, and different movement among layers can produce similar-looking results. Hanging a heavy wet knit can cause growth while tumble heat may cause contraction.
Response
Measure stable marked points and calculate change by direction. Check panel grain and seam position. Compare face fabric, rib, lining, interfacing, and thread. Gentle reshaping may help a non-safety garment when its instructions permit it, but forcing dimensions can damage structure. Correct material compatibility or process control before changing only the label.
Fading, bleeding, crocking, and staining
Symptom
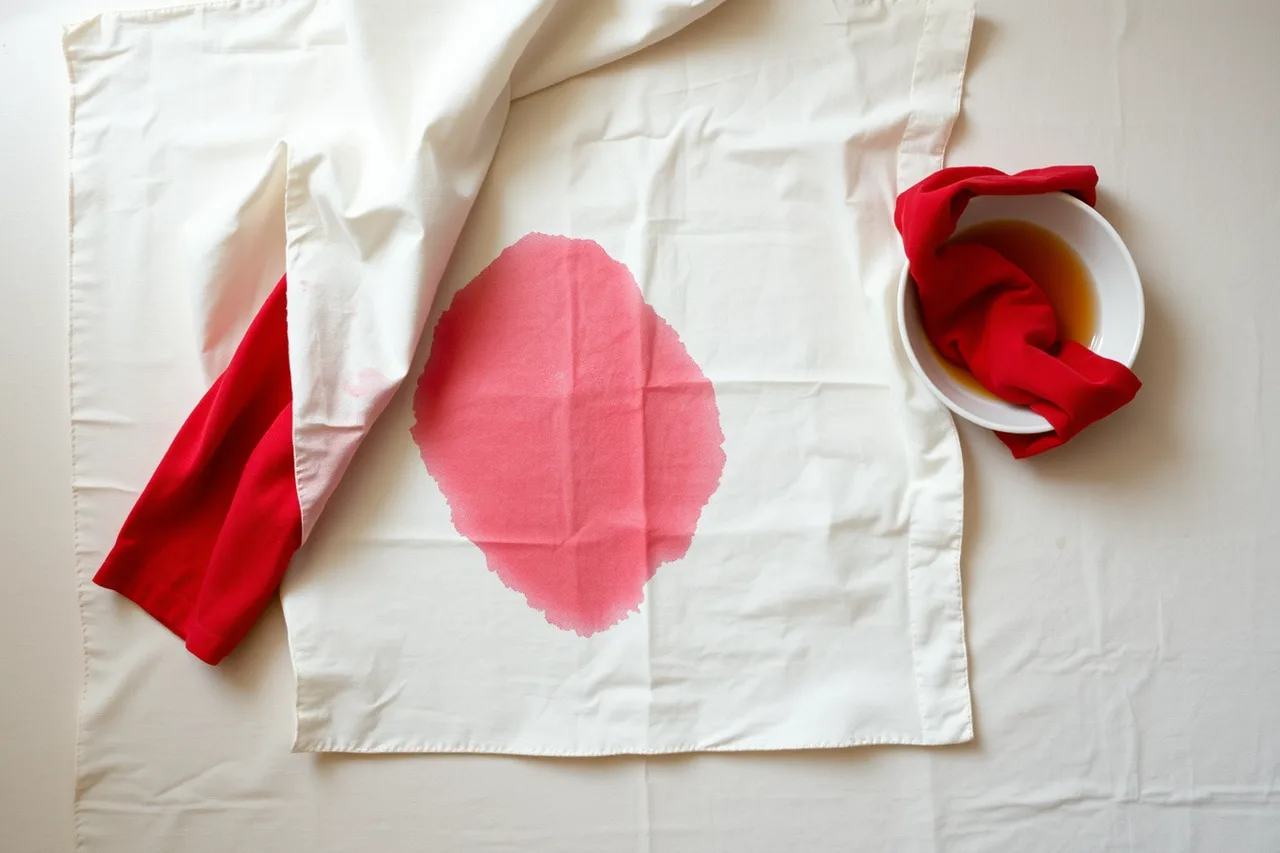
The garment loses color, stains another material, transfers color during rubbing, or changes only in exposed areas.
Likely causes
Washing, water, detergent, perspiration, rubbing, light, chlorine, heat, or storage contact are distinct exposures. A passing wash result does not establish resistance to sunlight or dry rubbing.
Response
Record whether transfer occurred wet or dry and where surfaces touched; keep the stained item.
Test the relevant exposure and color combination; separate washing may reduce cross-staining during ownership, but it does not correct unacceptable transfer in normal wear. Avoid unsupported home chemical treatments that may set a stain or change both fabrics. Color-side mechanisms get a deeper treatment in dye and finish failure diagnostics.
Seam opening, slippage, puckering, and thread breaks
Symptom
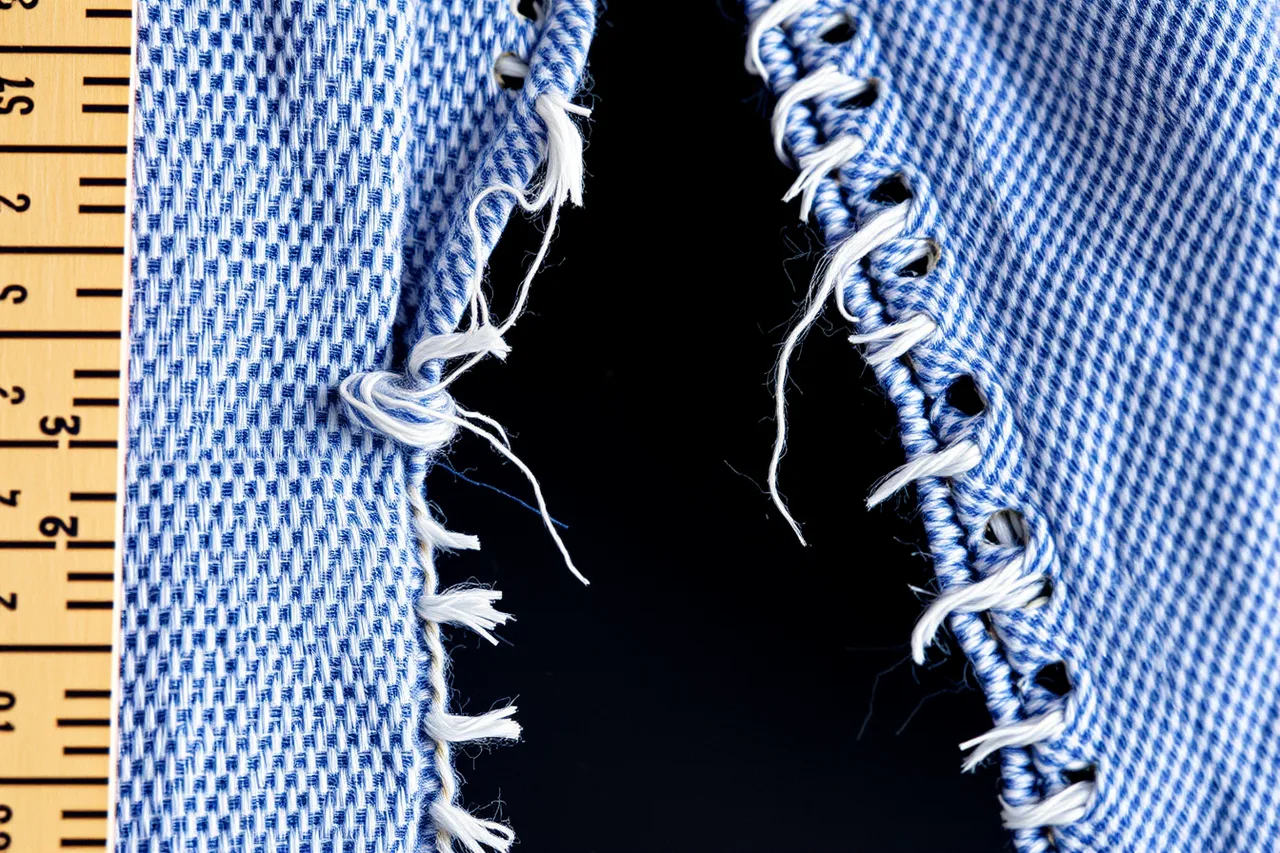
Stitches break, yarns pull away from a seam, the seam ripples, or an opening appears without fabric tearing.
Likely causes
Seam type, stitch density, thread, needle damage, allowance, fabric structure, differential feed, fit stress, and care shrinkage can contribute. Restitching a slipped seam through weakened fabric may fail again.
Response
Distinguish thread break from fabric rupture and yarn slippage. Inspect needle holes and the surrounding textile. A qualified repair can reinforce a low-risk area, but protective apparel or a load-bearing failure needs product-specific assessment.
Delamination, bubbling, peeling, and cracking
Symptom
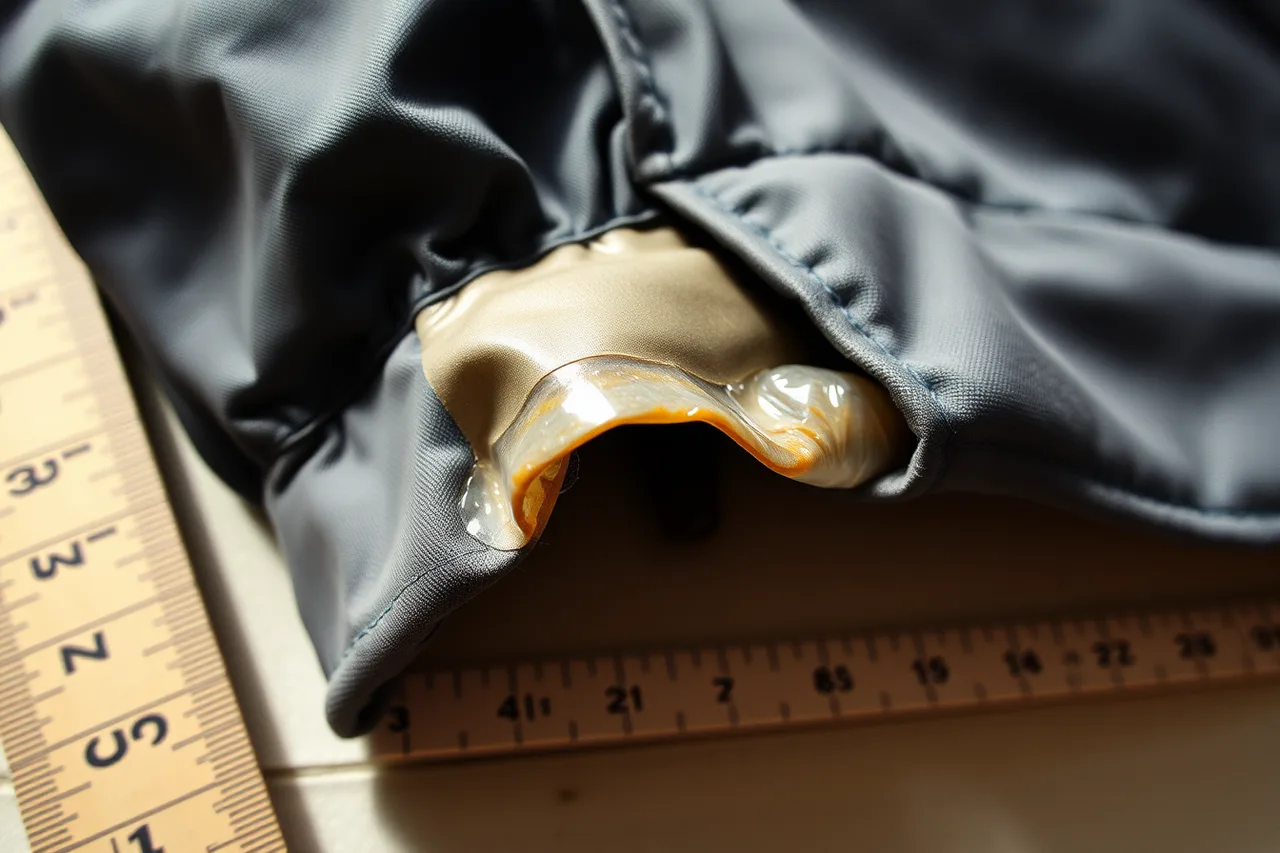
Bonded layers separate, interfacing bubbles, a print cracks, or a coating becomes sticky or flakes.
Likely causes
Adhesive selection, cure, contamination, flexing, hydrolysis, heat, solvents, repeated washing, or incompatible stretch may be involved. Surface glue does not restore the original bond or function.
Response
Identify the layer that failed and preserve loose pieces. Check production temperature, pressure, dwell time, storage age, and care exposure. Redesign or rebond only through a controlled process and confirm appearance and function after repeated care.
Arizona State University's textile testing laboratory equipment list includes separate tools for Martindale abrasion and pilling, shrinkage, sunlight colorfastness, and material identification. That separation supports matching the investigation to the symptom. It does not prescribe a method or acceptance limit for a particular garment.
Elastic loss and bagging
Symptom
Waistbands, cuffs, knees, or stretch panels fail to return to shape.
Likely causes
Repeated strain, excessive extension, heat, chlorine, oils, age, construction damage, or elastic degradation may reduce recovery. A garment can retain width at rest yet recover too slowly in wear.
Response
Measure extension and recovery at defined times. Compare unused and high-strain zones. Lower heat may reduce further stress if the care label allows, but it cannot restore degraded elastic.
Replacement can work when the elastic is accessible and no regulated function depends on it. When the garment's own construction blocks replacement, that is a case for the circular design problem guide.
Odor, mildew, and storage marks
Symptom
Persistent odor, spotting, dampness, pest damage, yellowing, fold lines, or light-faded shoulders appear after storage.
Likely causes
Residual soil, trapped moisture, slow drying, humid storage, pests, acidic packing, metal contact, and light can cause different damage. Odor alone cannot identify mold or contamination.
The Smithsonian Museum Conservation Institute's discussion of climate and textile storage covers light, abrasion, dust, moisture, condensation, mildew, and climate-related storage risks. Its scope is museum and antique material, so it should not be copied as a universal household-care standard. The underlying cautions can still help frame a diagnosis, especially for fragile or irreplaceable garments.
Response
Move a damp item away from clean textiles and address the moisture source. Do not seal it wet. Use professional conservation help for historic, high-value, structurally weak, or mold-affected material. For ordinary washable clothing, follow its supported label and dry it fully before storage. Avoid aggressive stain or odor treatments unless material compatibility is known.
Triage table
| Finding | Safe next step | Stop condition |
|---|---|---|
| Local open seam | Document, inspect fabric, seek suitable repair | Protective or load-bearing area |
| Mild surface pills | Identify fabric and test cautious removal in hidden area | Sheer, loose, historic, or damaged textile |
| Dye transfer | Separate items, preserve evidence, follow supported label | Unknown chemical exposure or severe staining |
| Damp storage odor | Isolate, ventilate safely, find moisture source | Visible mold, health concern, high-value textile |
| Coating peel | Stop further stress and contact seller or specialist | Protective, waterproof safety, or chemical barrier claim |
| Battery or heated garment damage | Disconnect only as instructed and contact maker | Heat, swelling, exposed wire, smoke, or liquid |
Verify the correction
A correction is not complete when the symptom looks better once. State the suspected mechanism, change one controlled set of variables, use a comparable production sample, repeat the relevant care and wear exposure, and measure the original failure. Check for new side effects.
Track returns by failure mode rather than a broad code such as "quality." Location, lot, color, size, time to failure, and care history can reveal a pattern that one inspection misses.
Common questions
Can a care mistake always be identified from the damage?
No. Several mechanisms can create the same appearance. Use history, location, controls, records, and suitable testing.
Should pills be shaved before making a complaint?
Document them first. Removal destroys some evidence and may change the surface.
Can a shrunken garment be stretched back permanently?
Sometimes shape can be adjusted, but the result depends on material and mechanism. Forced stretching may damage the garment and does not correct production instability.
Is mildew only an appearance issue?
No. It can involve material damage and health concerns. Address moisture and seek qualified help when mold is visible or risk is uncertain.
When is repair the wrong response?
Do not rely on ordinary repair when damage affects regulated safety, protective performance, electrics, severe contamination, or a structure that cannot support the repair.